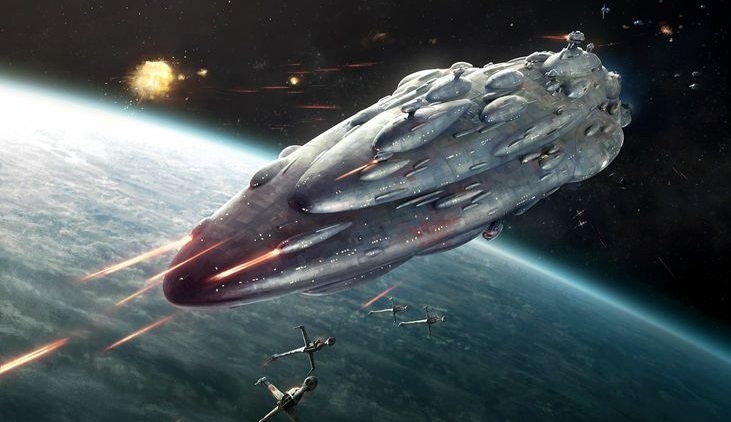
The Clone Wars. The rise of the Empire. The Galactic Civil War. The formation of the New Republic. The resistance against the First Order. In a galaxy plagued by warfare and strife, few worlds have played such a pivotal role as Mon Cala. Its leaders, its peoples, and its starships have affected the course of conflicts and have fought tirelessly in defense of freedom and self-determination. Famous admirals like Ackbar, mighty starships like Home One and Raddus, and selfless leaders like Lee-Char have been key to the formation and success of the Alliance to Restore the Republic, the establishment of the New Republic, and the resistance against the depredations of the First Order. From the depths of Mon Cala to Endor and beyond, this is their story.
Calm Seas to Rough Waters
The world of Mon Cala, located on the edge of the Outer Rim, is far different from the mighty industrial planets located in the Core Worlds. Home to both the Mon Calamari and Quarren, this ocean world has extensive underwater settlements and surface cities designed for contact with off-worlders. Despite a past history of conflict, the Mon Calamari and Quarren established a joint society, under the guidance of a constitutional monarchy that provided a voice to all the settlements and peoples of Mon Cala. Renowned shipbuilders though they were, the Mon Calamari didn’t build large military starships. Instead, classes of exploration cruisers, merchant vessels, and passenger liners were the primary focus of planet’s famed shipyards.
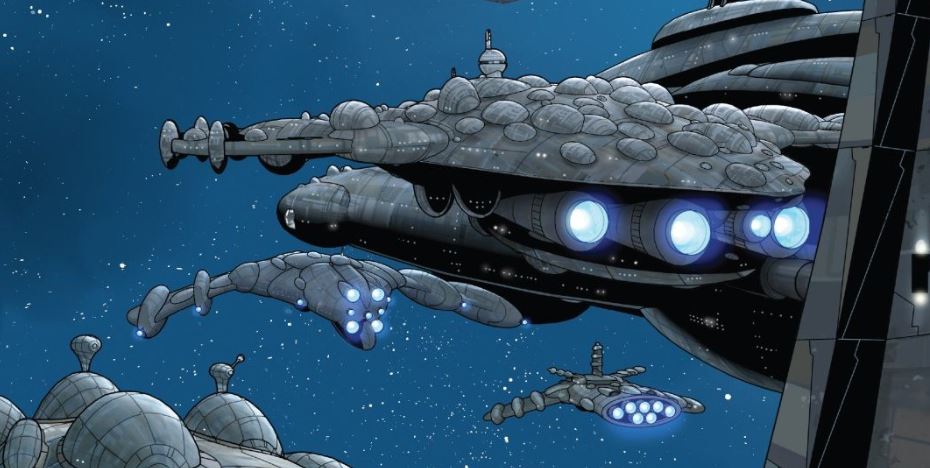
Over time, a large merchant fleet became the source of much of Mon Cala’s influence in the galaxy. In the twilight of the Galactic Republic, there was little need for combat warships. The Clone Wars affected Mon Cala severely, as the Mon Calamari’s loyalty to the Republic and the Quarren’s brief flirtations with the Separatists led the planet to a short but intense civil war. Ultimately, the actions of Jedi Master Anakin Skywalker, Senator Padmé Amidala, and King Lee-Char reunified the Mon Calamari and Quarren peoples and brought peace back to the world, but the reorganization of the Old Republic into the first Galactic Empire would have far-reaching repercussions for the planet in the coming decades.
Turbid Times Under the Empire
The time of peace promised by the Empire’s rise proved fleeting for Mon Cala. Mere months into the reign of Emperor Palpatine, relations between the Imperial government and Mon Cala began to sour. As the military-industrial complex of the Empire expanded and churned out new weapons of war, Mon Cala was pressured into supplying kelpite strand beams to Imperial shipyards well below market prices. Accepting these demands would risk bankrupting the planet and threaten its recovery from the ravages of the Clone Wars. King Lee-Char negotiated in good faith with the Empire’s ambassador Telvar, but events were unfolding that would change the course of both Mon Cala history and galactic affairs at large.
Given the pivotal role that the Jedi Order played in preventing his world from tearing itself apart in the Clone Wars, King Lee-Char gave refuge to a survivor of the Emperor’s purge, Jedi Knight Ferren Barr. The Iktotchi Jedi had a Force vision of the role that the Mon Calamari would play in the future resistance against the Empire. Severely affected by Order 66 and the destruction of the Order, Barr was determined to do anything to speed the fall of the Empire, going as far as to arrange the destruction of Ambassador Telvar’s shuttle. His controversial decision to secure long-term actions against the Empire brought Mon Cala tremendous pain in the near term. Already suspicious of the Mon Calamari and eager to display his new Empire’s might to the galaxy, Emperor Palpatine dispatched Grand Moff Tarkin with a fleet of Star Destroyers and Darth Vader with a team of Inquisitors to Mon Cala. The assassination of the ambassador was all the pretext needed to unleash a full-scale invasion of the planet.
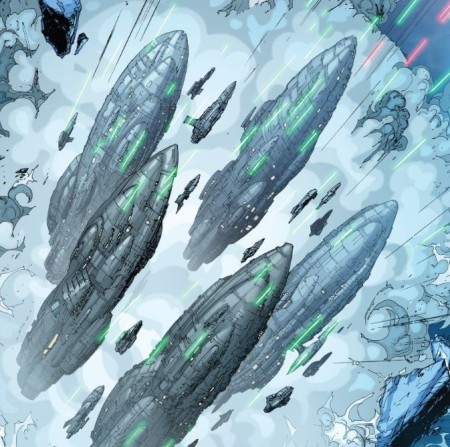
The Mon Calamari and Quarren fought valiantly, under the command of the king’s top two military commanders: Admiral Raddus and Commander Ackbar. While Ackbar’s forces fought in the planet’s northern hemisphere, Raddus gathered several of Mon Cala’s merchant cruisers near the south pole. Their efforts succeeded in fighting back the first few waves of Imperial attacks, but ultimately proved unable to stop the Empire. Tarkin ordered the bombardment of multiple cities, killing millions as Lee-Char watched helplessly in Imperial custody. Jedi Barr attempted to kill Vader and free the king, but was ultimately killed. Before Barr died, he shared his vision with Lee-Char: a vision of a time decades later when Mon Cala and its ships would be at the forefront of a great rebellion, then again decades later. Barr’s prophecy would come true, but with a price—the subjugation of Mon Cala and the imprisonment of Lee-Char. Admiral Raddus, refusing Lee-Char’s order to surrender to the Empire, ordered his merchant cruisers to run the Imperial blockade. Only a trio of ships made it though. While small in number, these ships and Raddus himself would provide the nucleus for a Mon Calamari rebel cell over a decade later.
The Rising Tide of Rebellion
Mon Cala would prove to be among the first of many worlds subjugated by the Empire. As Palpatine’s reign entered its second decade, a rising tide of rebellion on numerous worlds—and in the very halls of the Imperial Senate—began to form. The union of idealistic Core World senators and Outer Rim resistance cells that would eventually form the Alliance to Restore the Republic was still in its infancy, but the Mon Calamari would prove to be a key player.
Unbeknownst to the occupying Imperial forces, many Mon Cala cities had buildings and towers that were “city ships”, civic buildings that were constructed to serve as vessels in emergencies. Thanks to this misunderstanding, many city ships later escaped Mon Cala, fleeing to deep space. In addition, exploration cruisers, out on deep space survey missions, and passenger liners made their way to the Mon Cala rebel cell, which was coalescing under the leadership of Raddus and Ackbar. The brash and aggressive leadership of Raddus at times clashed with the more conservative and cautious style of Ackbar, but the duo managed to gather together many Mon Cala vessels and hide them in safety.
In 2 BBY, Mon Mothma issued her Declaration of Rebellion, which formally combined the various cells into the Alliance to Restore the Republic. Lacking a formal navy and consisting mostly of smaller vessels, the Alliance needed heavy hitters to provide their fleet with a strong backbone, and the Mon Cala cell was quick to answer Mothma’s call. They had a number of ships, but lacked the facilities to retrofit them into combat cruisers. Fortunately for both, the Alliance possessed a secret series of shipyards in the Telaris cometary cloud. Located not far from Mon Cala itself, it provided a refuge for those still escaping the Imperial occupation.
The Cruisers Emerge
With a wealth of Mon Cala hulls available, the otherwise resource-strapped Alliance slowly began the conversion process. Mon Cala engineering and design varied from ship to ship, but common hull types allowed the Alliance to create three general classes of warship:
- MC75 star cruiser: former city ships
- MC80 star cruiser: former passenger liners or merchant ships
- MC80a star cruiser: former exploration cruisers or merchant ships
Ranging from 1200-1300 meters in length, these star cruisers were refitted with turbolasers, ion cannons, torpedo launchers, and combat-grade shields. First off the lines was Profundity, an MC75 star cruiser that was designated flagship of the embryonic Rebel Fleet. Shortly after the launch of Profundity, two MC80a star cruisers, Home One and Nautilian, were combat-ready as well. The prominence of the Mon Calamari in the Alliance and the contribution of their ships ensured that both Raddus and Ackbar were given high ranking positions in the command structure. Raddus was named admiral of the Rebel Fleet, while Ackbar was assigned command of Rebel units defending Telaris and the region around the Overic Griplink, the main hyperlane into Mon Cala space. Soon, the discovery of the Empire’s new battle station, the Death Star, would push the Alliance into open warfare. While still precious few in number, Mon Cala cruisers would prove to play a key role in the coming conflict.
Storming the Shoals
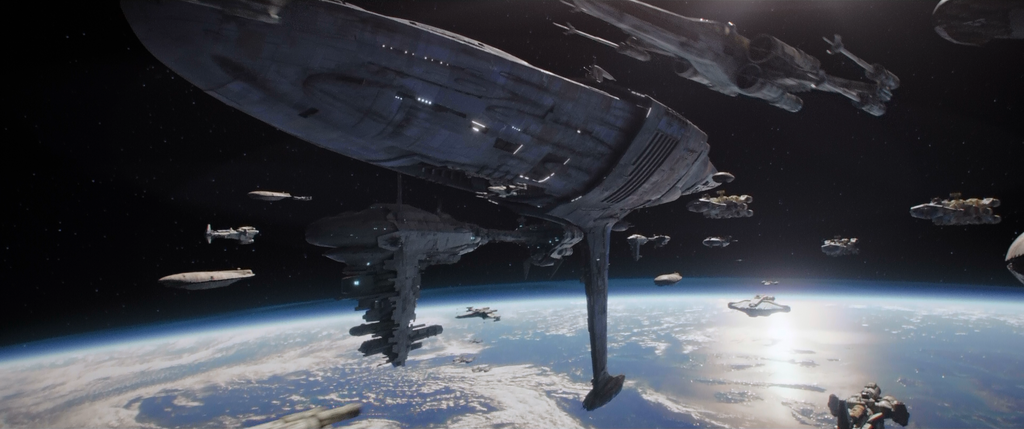
The Battle of Scarif was the first test not only for the unity of the Alliance, but also for the new star cruisers. Admiral Raddus, hoping to push the Alliance High Command into action, intended to take Profundity and a fleet of smaller vessels and starfighters to Scarif even if it meant disobeying a direct order. Fortunately for the Alliance, an intercepted signal confirming that Jyn Erso’s strike team made it onto Scarif gave Mon Mothma the support she needed to order the Alliance into action. With time of the essence, the only large cruiser in range was Profundity. The subsequent battle demonstrated the toughness of the new Mon Cala cruisers. Profundity resisted waves of TIE fighter attacks and fire from a duo of Star Destroyers, only to finally fall under withering fire from Vader’s flagship, Devastator. Disabled and boarded, Profundity’s hangar held even more precious cargo: the CR90 corvette Tantive IV, with young senator Leia Organa of Alderaan aboard, custodian of the stolen plants so many died to secure. As the blockade runner detached from Profundity and jumped to lightspeed, hope endured.
The Rebel victory at the Battle of Yavin capped off a short but intense period for the Alliance. There was little time to celebrate or mourn the dead, as the Alliance knew that the Empire would dispatch forces to destroy their now-revealed base almost immediately. With the death of Admiral Raddus, Mon Mothma appointed Ackbar one of the commanders of the Rebellion’s still-nascent fleet. With Home One operational, Ackbar gathered as many Rebel warships as he could and headed to Yavin IV to proceed with the evacuation of Base One. Ackbar knew that stripping so many Rebel warships from his area of operations around the Overic Griplink risked losing control of the region to the Empire, but it was deemed a risk worth taking. Ackbar successfully oversaw the evacuation of all Rebel personnel from Yavin IV, but his fear proved true: much of the Overic Griplink, which was near the Rebel shipyards at Telaris, was seized by Imperial forces.
Mutiny at Mon Cala
The expansion of the fleet and the search for a new permanent base were the primary concerns of the Alliance in the months following the victories at Scarif and Yavin. Until a suitable planet could be located, the Rebels settled on a space station in the Outer Rim Territories. Mako-Ta Base served as both a temporary headquarters and as a production yard capable of building up the Alliance navy. The need for additional ships led the Rebellion once more to the Mon Cala.
Dispatched by the Rebel Council, Leia Organa and Admiral Ackbar met with Urtya, regent of Mon Cala and grand admiral of its merchant fleet, which had been nationalized and put into Imperial service. Their plan was straightforward: convince the Mon Cala to mutiny and defect with the merchant fleet to the Alliance. Despite sympathies with the Rebellion and its cause, Urtya refused, citing his fear that any mutiny would bring additional hardships on his people. Leia realized that the only leader who could inspire the Mon Cala fleet to mutiny was King Lee-Char himself, who had been languishing in an Imperial prison for nearly two decades. With help from Queen Trios, Leia learned of the king’s location and devised her plan. During the subsequent rescue attempt Lee-Char suffered fatal wounds, but not before he was able to record a final message to his people. When broadcast by Urtya to the crews of the merchant fleet, they began to mutiny and overwhelmed the Imperial officers on their vessels.
As the Imperial fleet stationed in the sector moved to lock down the merchant fleet, Admiral Ackbar arrived with a small Rebel task force. The merchant fleet was heavily shielded but unarmed, making their escape past the Imperial blockade almost impossible. Quick thinking by Ackbar revealed a simple and straightforward plan. On board the star cruiser Aurora Flare was a large shipment of coaxium. After evacuating the vessel, the captain of Aurora Flare followed Ackbar’s orders and crashed his vessel into the Imperial blockade, creating an opening for the fleet to escape Mon Cala. Imperial retribution was swift: an orbital bombardment destroyed the Mon Cala Regency and killed Urtya.
 Betrayal at Mako-Ta and Imperial Retribution
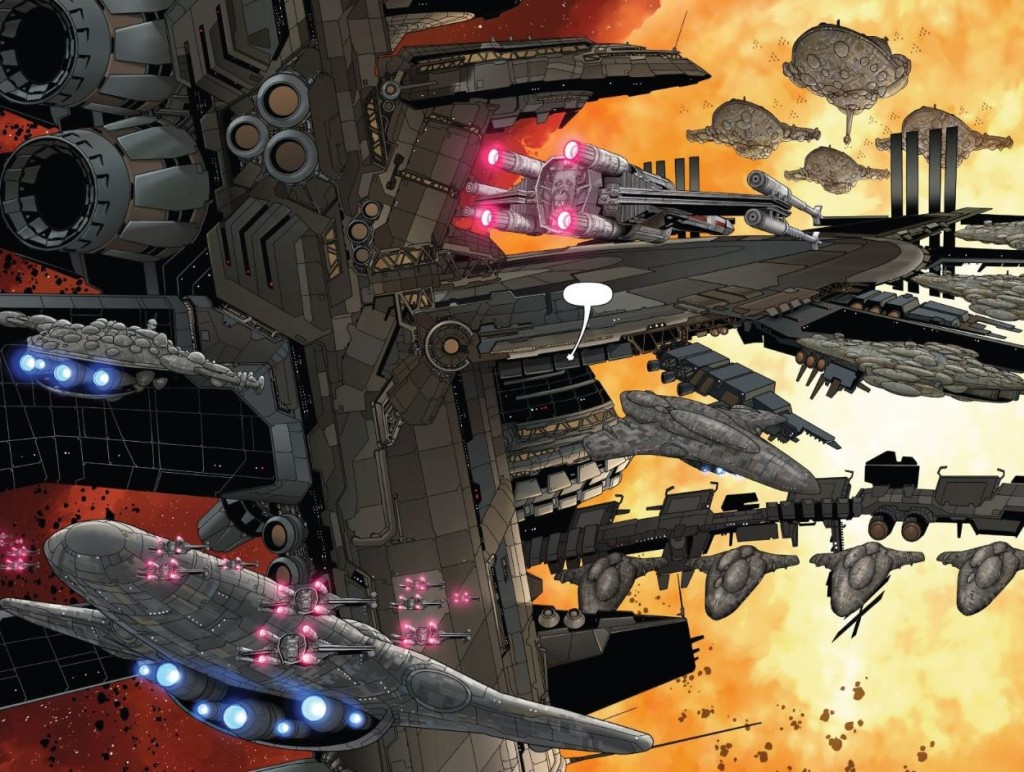
At Mako-Ta Base, the merchant fleet was quickly converted into fully-armed and combat-ready star cruisers. While the cruisers were Mon Cala, many of the systems installed in them where provided by Queen Trios of Shu-Torun. In a matter of months, the Alliance was able to assemble an impressive array of Mon Cala cruisers, all fully equipped with squadrons of starfighters. To celebrate this significant milestone, Mon Mothma assembled Alliance dignitaries and leaders at Mako-Ta to witness the deployment of the new navy. The Alliance’s plan was to break up its fleet into numerous task forces and dispatch them to remote spots of the galaxy, to prevent the Empire from catching it in one spot. They would then be available for missions when called upon, including the Alliance’s recently-launched campaign in the Mid Rim. General Jan Dodonna was named overall Rebel commander, serving on the MC80a cruiser Republic. The fleet was then arranged into four distinct groups, under the command of Admiral Ackbar, General Hera Syndulla, General Willard, and Commander Lajaie. What was supposed to be a watershed moment in Alliance history turned out to nearly spell its defeat. Unbeknownst to the Alliance, the Shu-Torun equipment provided for key systems like hyperdrive, comms, hangar doors, and weapons were all bugged and programmed to disable the ships. Queen Trios had secretly remained in league with the Empire, crippling the cruisers and revealing to the location of Mako-Ta Base.
Receiving a signal from Trios, Vader arrived with the Super Star Destroyer Executor and a trio of Star Destroyers. Unable to jump, communicate, fire weapons, or launch fighters, the Alliance’s Mon Cala cruisers were nothing more than large, defenseless targets. Slowly and methodically, Vader’s fleet targeted and destroyed one cruiser after another. Alliance techs on the various ships and on Mako-Ta base under General Draven worked feverishly to find ways to override the Shu-Torun codes. The first glimmer of hope came when it was revealed that the hanger bay doors would open if approached by a Rebel transponder signal. Thanks to the timely arrival of Han Solo and Chewbacca on the Millennium Falcon, the doors were triggered on Dodonna’s Republic. Luke Skywalker, assembling a group of X-wings christened Rogue Squadron in honor of the call sign of the heroes of Scarif, attempted to catch the attention of the Rebel commanders in hopes of them realizing how to open their hangars. Flying past the cruiser Home One, Luke got the attention of Admiral Ackbar. Watching Luke trigger the hangar on General Syndulla’s MC80 Geist, Ackbar ordered probes dispatched to trigger hangar doors on the surviving cruisers. The deployment of the fleet’s squadrons had bought the Alliance time.
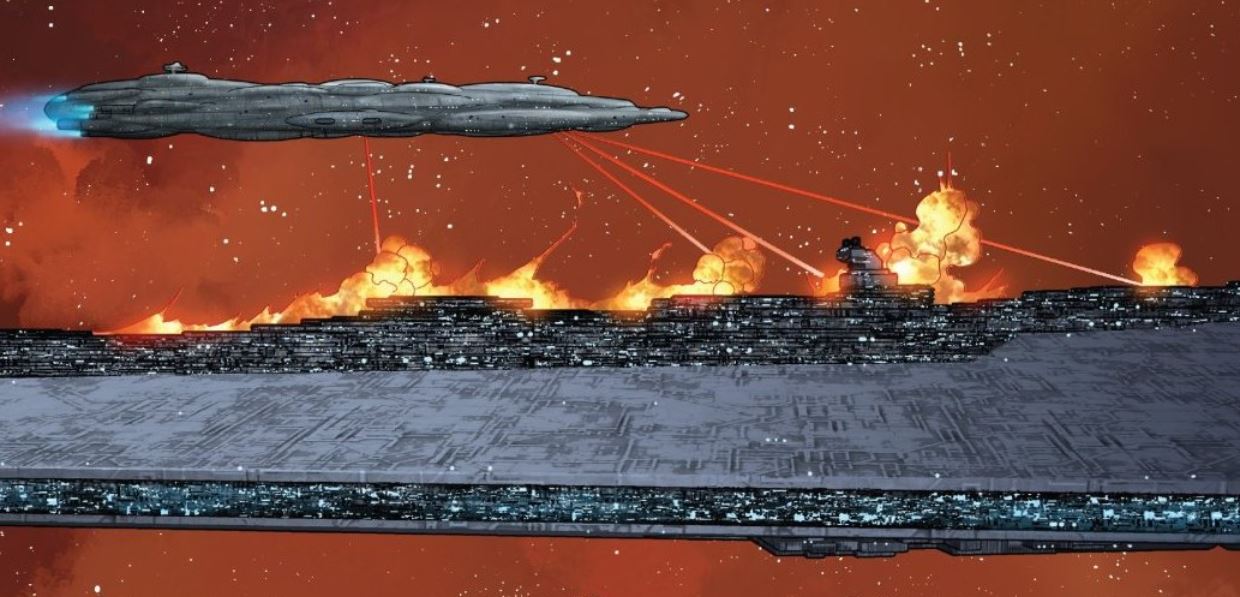
The Battle of Mako-Ta ultimately ended when override codes smuggled off Executor by a strike team led by Leia Organa were provided to the cruisers. Aboard Republic, Dodonna engaged Executor at close range, drawing its fire away from the rest of the fleet. Dodonna’s brave delaying action allowed the remaining cruisers to escape, but at the loss of his ship and life. Despite the escape of the fleet, Mon Mothma, and the assembled dignitaries, the battle was a costly one for the Alliance. Nearly half of the cruisers were destroyed, along with a staggering ninety percent of the fighters attached to them. Willard, Lajaie, Cor, Hudsol, and Draven had all perished in the battle, gutting the Alliance’s military leadership. The Mid Rim campaign quickly turned into a fighting retreat, as it was deprived of fleet support and contact with the Alliance leadership. Now on the run and pursued by Vader’s Death Squadron, the Alliance attempted to regroup by establishing a new base on the remote ice planet of Hoth. This respite from Imperial pursuit proved short, as the base was discovered by an Imperial probe droid. The Battle of Hoth was yet another costly defeat for the Alliance, scattering their forces even further and demonstrating the might of Imperial retribution.
The High Command reconvened on Home One, but it was a dark time for the Alliance. Ackbar was appointed overall fleet commander and ordered the Alliance fleet to remain scattered. Despite this, the Mon Cala cruisers that formed the fleet’s backbone kept the Alliance on the move and safe from the Empire.
The Wave Falls on the Empire
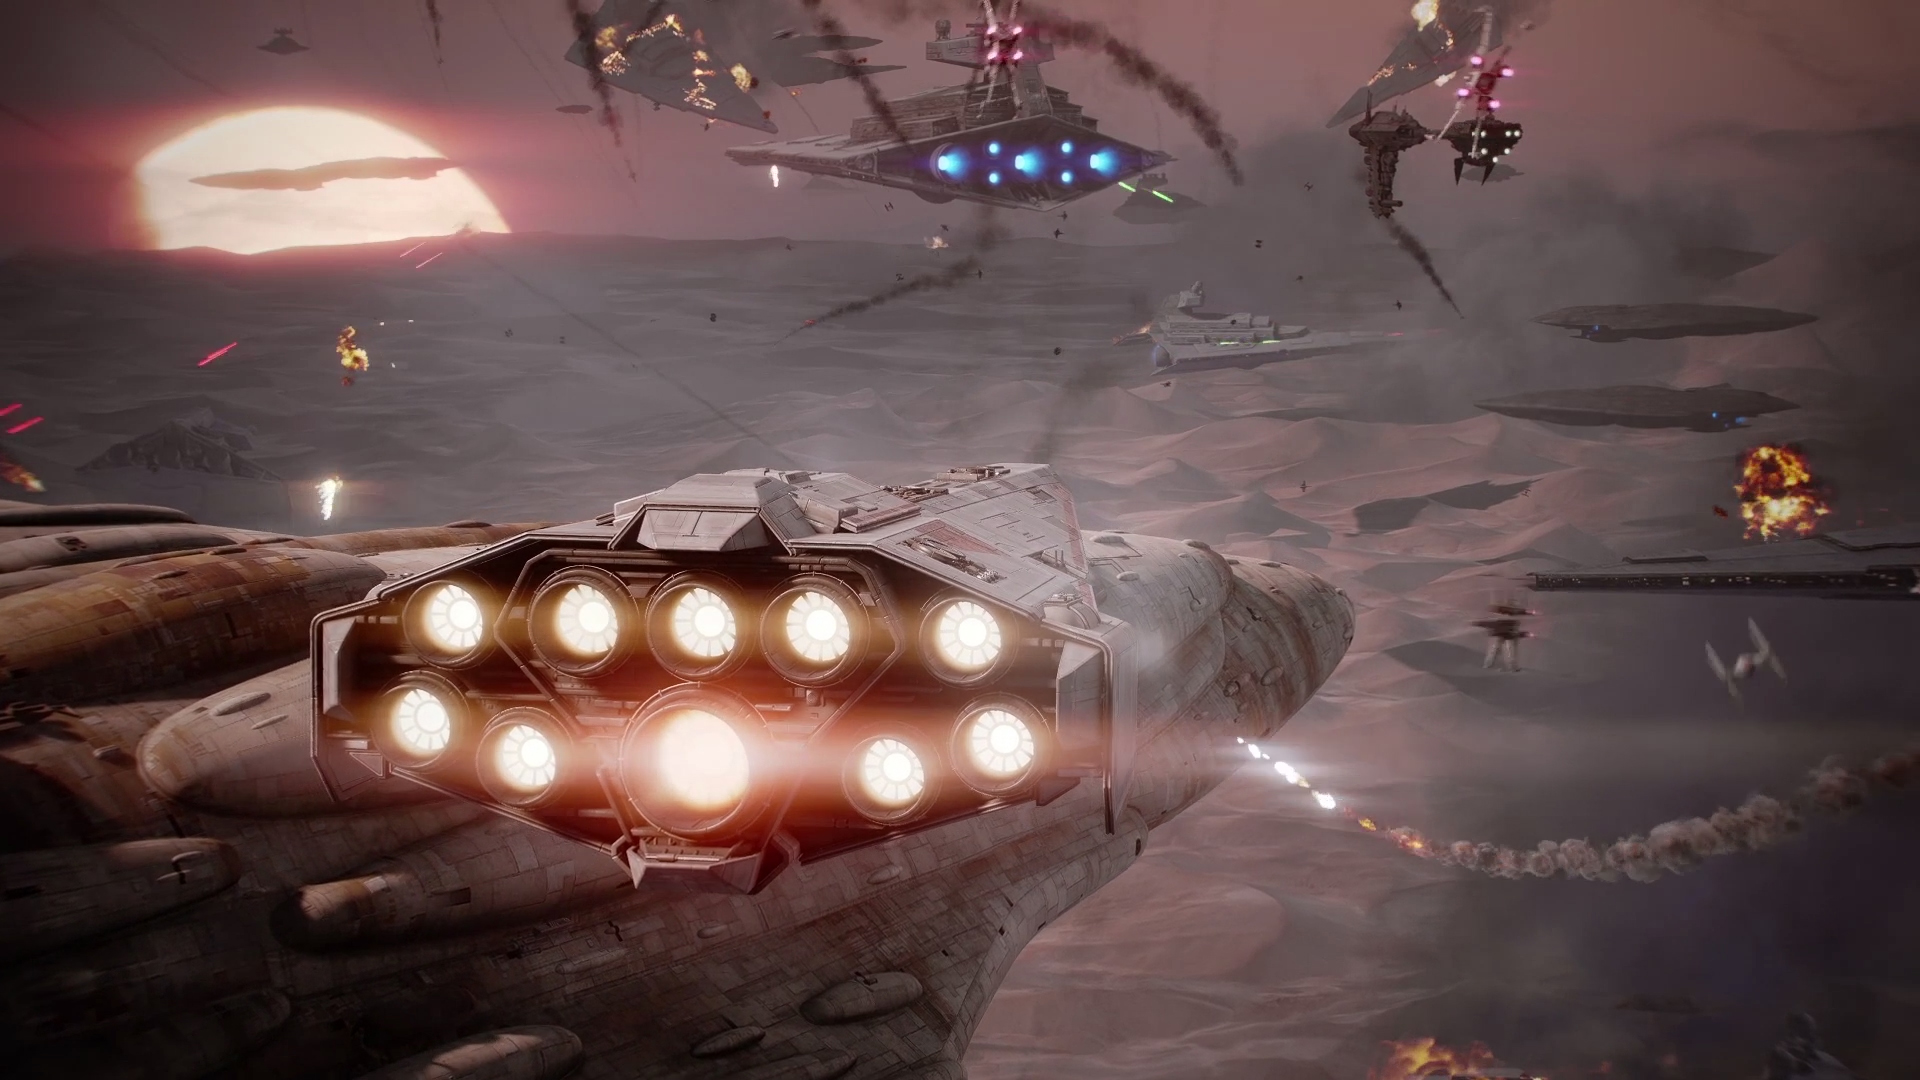
When the Alliance discovered that a second, more powerful Death Star was nearing completion, they chose to risk everything to destroy it. Despite the changes in fortune the Alliance had experienced over the past four years, the Alliance fleet under Admiral Ackbar was its most powerful remaining asset. All fleet units were recalled to Sullust, where the entire Rebel armada was assembled for this final, all-or-nothing battle. Through all its trials, Ackbar had managed to train and equip a powerful navy. Its backbone was a strong contingent of MC80 and MC80a star cruisers. Home One. Nautilian. Defiance. Independence. Liberty. Restoration. Amalthea. Freedom’s Run. These cruisers and many more were thrown headfirst into combat with the best of the Imperial Starfleet. The Battle of Endor would be the moment that the wave of rebellion crested and crashed down upon the Empire. The subsequent aftermath of the battle would lead to the formation of the New Republic. For the next twelve months, the New Republic scored victory after victory against the remnants of the Empire. Mon Cala cruisers played a major role in this, with large numbers helping secure a major victory with the capture of Kuat and its famous shipyards. Even greater numbers of them would be part of the New Republic’s victory at Jakku, which saw the final defeat of the Empire.
The various MC75s, MC80s, and MC80as were soon joined by an even larger and more powerful Mon Cala vessel: the MC85 heavy cruiser. Commissioned by the New Republic and jointly designed by the Mon Calamari shipyards and Corellian Engineering Corporation, these massive cruisers were the last major warship built by the New Republic before the surrender of the Empire and the signing of the Galactic Concordance. Over three kilometers in length, these massive cruisers possessed heavy armaments, expansive hangar bays, and state-of-the-art shield technology. The new era of peace ushered in a large-scale disarmament program. With no new threats on the horizon, the New Republic quickly mothballed a large portion of its navy, including large warships like the MC85. One decommissioned vessel, Dawn of Tranquility, would once against put a Mon Cala cruiser at the forefront of the fight for freedom.
The Spark of New Rebellion
The rise of the First Order and the reluctance of the New Republic to recognize its threat to the peace so many fought and died for would once again put the Mon Calamari and their cruisers at the center of opposition to those who would deprive the galaxy’s peoples of their freedom. The Resistance, formed by General Leia Organa, would receive aid from sympathetic New Republic worlds and senators. The Mon Calamari, having experienced the horrors of war firsthand, several times, were open supporters of the Resistance. The decommissioned MC85 Dawn of Tranquility found its way into Resistance service. Aged but still willing to fight for a cause he believed in, Admiral Ackbar was selected by Leia to be the Resistance’s fleet commander. Ackbar renamed Dawn of Tranquility in honor of his old colleague Raddus, with whom he had clashed decades prior when the Rebellion was in its infancy.
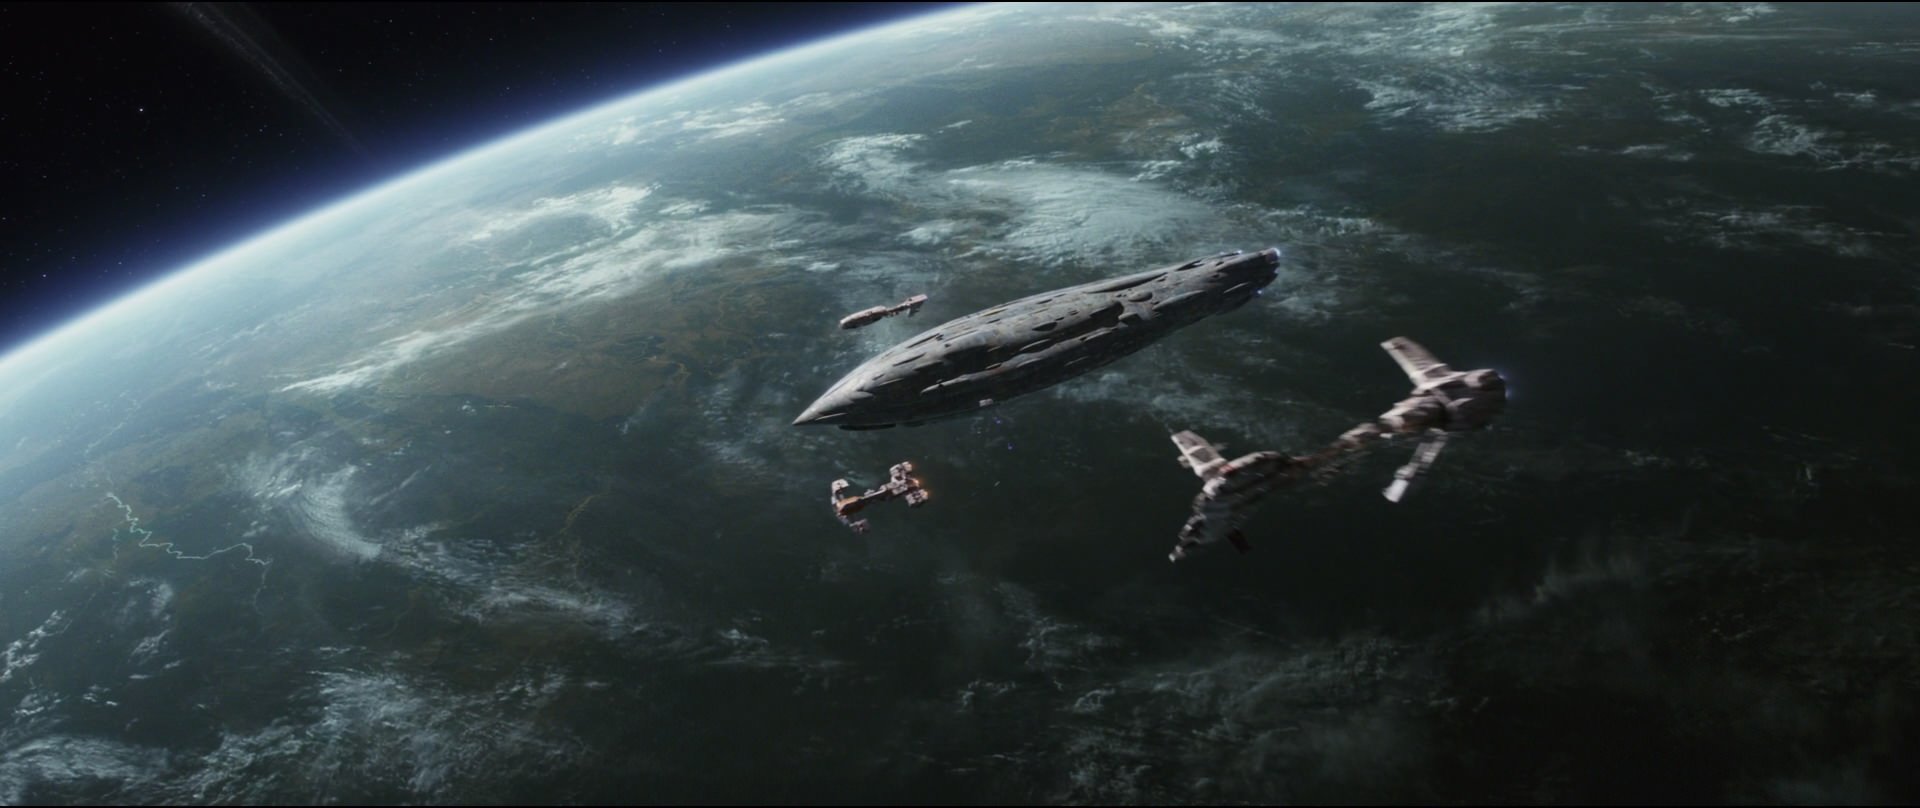
With the New Republic crippled due to the loss of the senate and home fleet at Hosnian Prime and with their main base at D’Qar discovered, the remnants of the Resistance fled aboard Raddus. Tracked through hyperspace by the First Order and both outnumbered and outgunned, the small assembly of Resistance ships attacked yet again. In a strike on the bridge, Ackbar was killed, Leia rendered unconscious, and command fell to Vice Admiral Holdo. Raddus, expertly built and possessing powerful shields, held out long enough for Leia and the surviving members of the Resistance to flee to Crait. In one last act of defiance, Holdo piloted Raddus into a hyperspace collision with Supremacy, destroying the mobile headquarters of the First Order and dozens of Star Destroyers.
Closing
The Force vision of Farren Barr ultimately did come to pass. The world of Mon Cala, her peoples, and their mighty star cruisers brought down an Empire, restored a Republic, and sheltered a Resistance. The final story of their ships and impact is still yet untold, as we march towards the release of Episode IX and the conclusion of the sequel trilogy. While the final outcome is still unknown, one thing is certain: Mon Cala and her cruisers played a key role. Who knows, they may yet prove to play one more part as the Resistance fights to bring down the First Order and restore peace to a galaxy far, far away…

Great article, and a FleetJunkie’s dream! No battle of Turkana, but that was a bit w**ked for early rebel conflicts, I guess. Nice explanation of the Mid Rim retreat, and many old favourites like the Defiance and Independence back in the fight.
This was a great read!
While only tangential to your essay, it did bring to mind a couple of nuggets I’d like to call out:
(1) The relationship between the Mon Calamari and the Quarren is fascinating. Given the Mon Cal’s greater involvement in galactic affairs and greater focus on offworld interactions, I can’t help but feel that most of the Star Wars literature we’ve read dealing with the Mon Calamari and Quarren is tinged with something of a “history is written by the victors” flavor. It’s never explicit and I’d guess rarely intentional, but I can’t help but feel we’ve never really explored the GFFA from the Quarren’s perspective.
(2) I continue to be troubled by the way Rogue One races over Admiral Raddus’s willingness to ignore the expressed will of the Alliance’s civilian leadership. The plot doesn’t even feel a speed bump as it crosses that hurdle, and it’s clear the intent is for we the audience to cheer him on. Particularly in the old EU, but continuing in new canon in situations like this one, there’s a disturbing degree of celebrating military leaders who stand up to and buck elected leaders and who put politicians in their place. (Some echoes of last fall’s essay on fascism in this observation.) So many of Star Wars’ heroes–including Admiral Ackbar and General Organa–are steered away from political leadership and toward military leadership. I can’t help but feel there’s an unsavory, below-the-surface rejection of democracy baked into that.
Glad you enjoyed it! 🙂
1. The old EU did a much better job showing the nuances in the Mon Calamari and Quarren relationship, at least the stuff put out by WEG. The new canon hasn’t explored it much, outside of the Mon Cala arc of TCW and the recent arc in Marvel’s Vader ongoing. In the case of the later, we see some Quarren, but not in prominent roles. It would be awesome to get some stories from their perspective.
2. You bring up some excellent points. There is another layer to that story, in that we see that Mon Mothma and Bail Organa were still willing to prepare for war after the Rebel council scene. So we also have top Alliance civilian leaders seemingly disregarding the will of their council. The portrayal of democracy in Star Wars has always been kinda problematic. On one level, it’s the end goal of all the good guys- restoring the glory days of the Republic. However, rarely do we see non-military types using political means to effect positive change. Instead, everything requires a military response. t the end of the day, Star Wars shows us that fighting for democracy and freedom is a noble cause… but they need to show us that it can also be done without blasters and fleets of starships.